Ever looked at your photos and wished they felt like a Studio Ghibli film? Learn how to make your photos look like they were painted by hand.
This guide shows you how to get the Studio Ghibli look. You’ll learn about vibrant colors, soft lighting, and scenes from nature. You don’t need fancy software or expensive cameras!

Key Takeaways
- Learn how to replicate the Studio Ghibli style’s iconic color schemes and natural themes.
- Discover simple tools and free apps for professional photographers to achieve the Ghibli style.
- Step-by-step methods for adding hand-drawn textures and atmospheric effects without advanced skills.
- Understand why nature and lighting are key to capturing that magical Studio Ghibli vibe.
- Practical tips for any photographer, from beginners to experts, wanting to create fantasy-inspired imagery.
Understanding the Enchanting Studio Ghibli Style
To master the Studio Ghibli aesthetic in photography, we first need to dissect its core visual language shaped by Hayao Miyazaki. This iconic style blends artistry with storytelling, creating worlds that feel both familiar and fantastical. Let’s break down its three pillars: color, movement, and nature.

The Distinctive Color Palette of Hayao Miyazaki’s Works
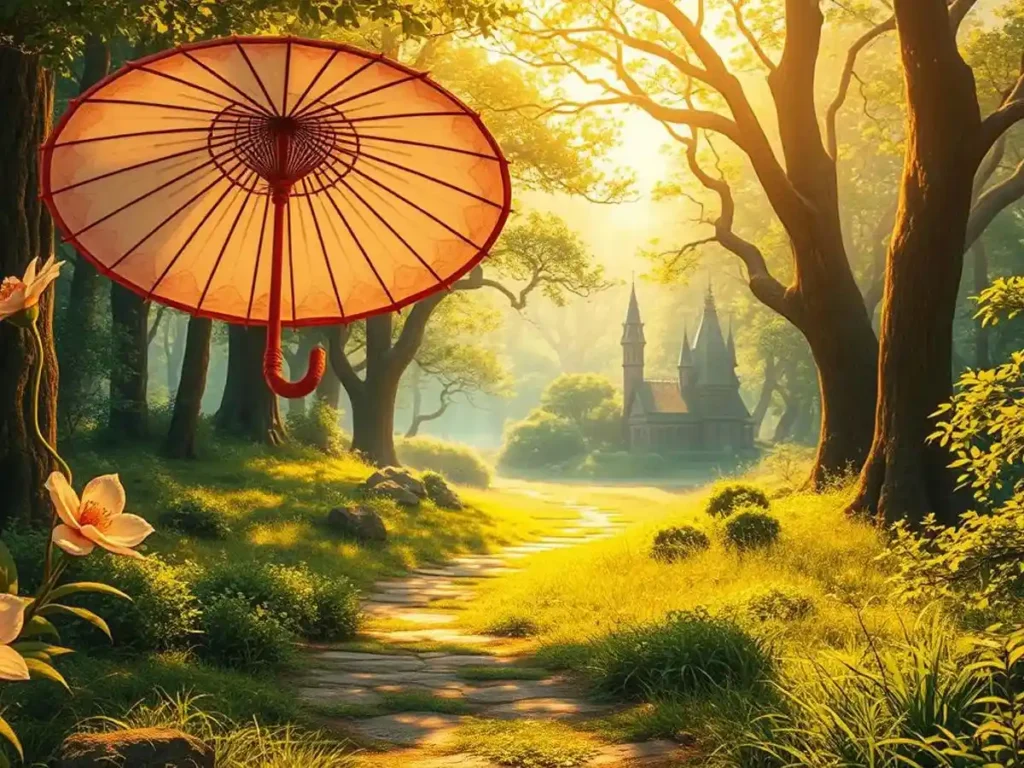
Studio Ghibli movies like My Neighbor Totoro and Spirited Away use a palette that balances soft pastels with bold accents. Think sky blues, mossy greens, and warm earth tones. Key techniques include:
- Light, watercolor-inspired backgrounds
- Pops of saturated colors for focal points (e.g., a red kimono against a misty landscape)
- Subtle gradients to mimic hand-painted textures
Capturing the Whimsical Animation Elements
The whimsical animation in Ghibli films thrives on subtle details: drifting leaves, flowing hair, and environments that feel alive. Photographers can mimic this by:
- Incorporating motion blur for flowing fabrics or wind-blown trees
- Adding slight imperfections to textures (e.g., rough paper overlays)
- Positioning subjects mid-action, like a child running through a field
The Importance of Nature and Landscapes
Nature isn’t just a backdrop in Studio Ghibli movies—it’s a character itself. To replicate this:
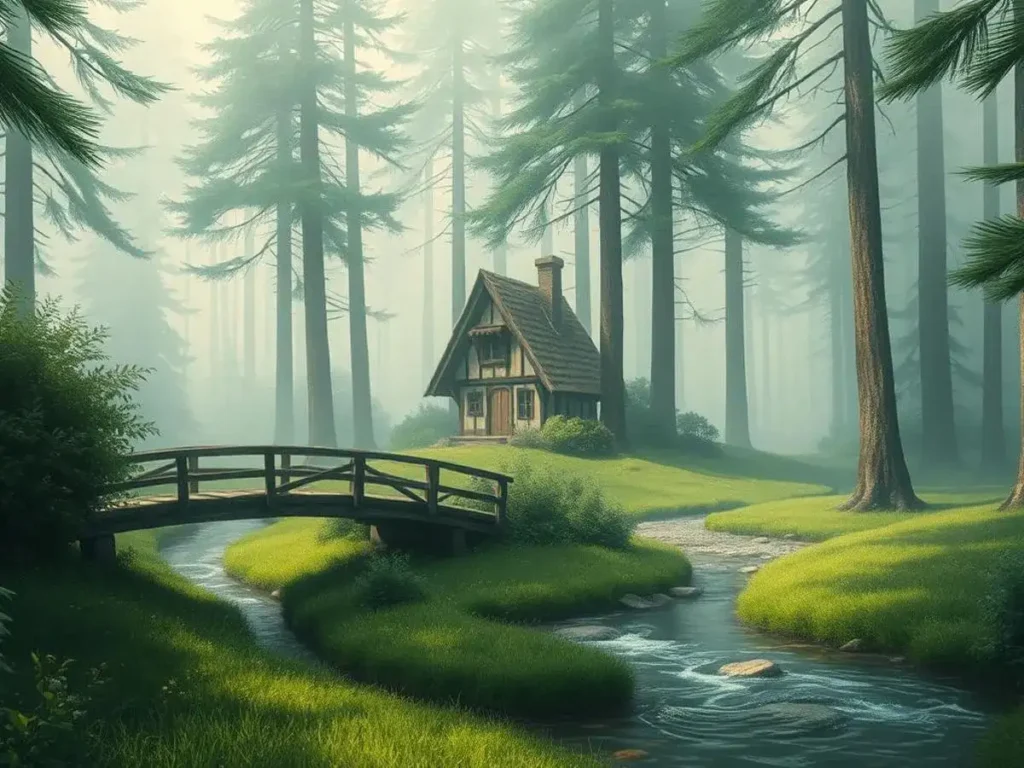
- Focus on organic shapes: winding rivers, uneven tree lines, and layered foliage
- Incorporate weather elements like mist, rain, or dappled sunlight
- Frame scenes to suggest hidden magic, such as a hidden door in a forest
These principles form the foundation for translating Miyazaki’s vision into photography. Now that we’ve decoded the style, let’s explore how to apply these elements practically.
Essential Tools and Equipment for Creating Ghibli-Inspired Photography
You need the right tools to turn photos into japanese animation like Studio Ghibli. While creativity is key, some items can help bring the anime style to life. Here’s what works best:

- Cameras: DSLRs, mirrorless cameras, or even smartphones (like iPhone 14 Pro or Google Pixel 7) are good. Look for devices with manual controls for adjusting light.
- Lenses: Wide-angle lenses (35mm or wider) are great for big scenes. Macro lenses are perfect for showing off small details, just like Ghibli’s rich worlds.
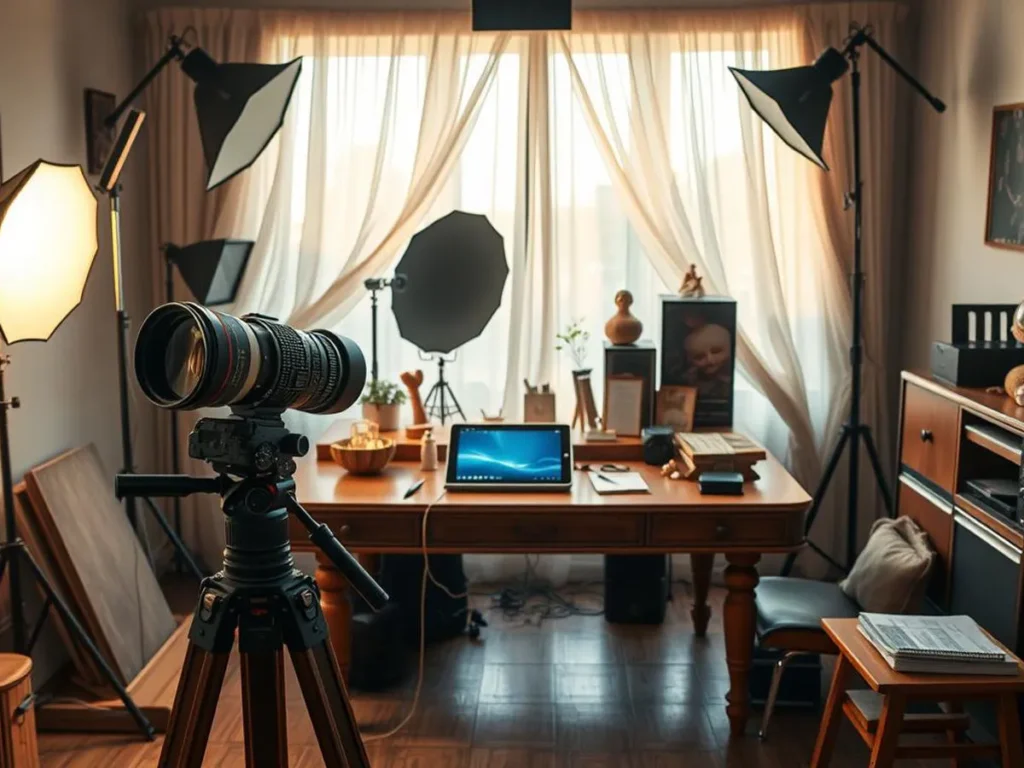
- Lighting: Softboxes and LED panels (e.g., Godox or Neewer) give that soft, diffused light seen in japanese animation. Natural light setups also work well.
- Software: Adobe Photoshop and Lightroom are the top choices for color grading. Free tools like GIMP or Snapseed let you tweak colors to match the anime style’s dreamy look.
- Post-processing add-ons: Digital tablets (Wacom Intuos or Huion) are great for adding hand-drawn elements. They’re perfect for creating sketches that echo Studio Ghibli’s unique textures.
Choose what fits your budget. Apps like VSCO or Over are good for color grading if you’re starting. Even simple editing tools can make your photos look soft and warm. Remember, Ghibli’s magic is all about the story, not just the gear.
Step-by-Step Techniques to Transform Your Photos into Studio Ghibli Style
Learning the Studio Ghibli look takes four main steps. We’ll explore each step to make your photos magical.

Adjusting Lighting to Match the Japanese Animation Aesthetic
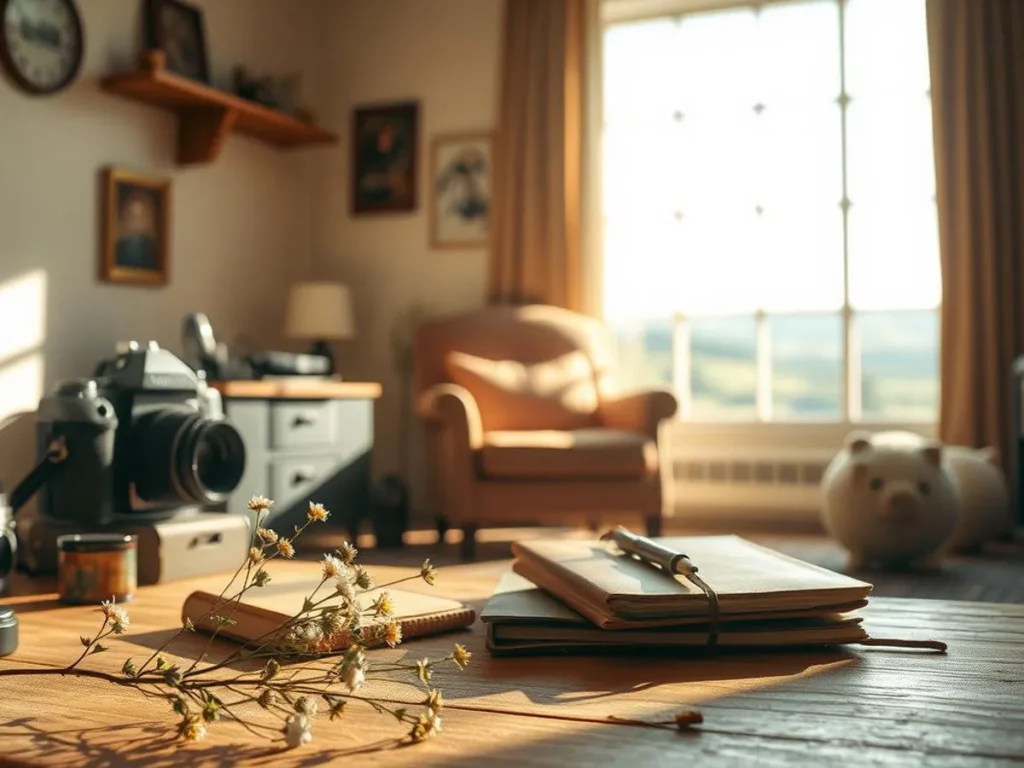
Soft, diffused light captures the hand-drawn animation feel of Ghibli. Use natural light through sheer curtains or soft artificial light. Avoid harsh shadows by balancing light and dark in editing. Try backlit shots for glowing edges.
Color Grading Secrets for the Fantasy Storytelling Look
Warm, rich colors bring fantasy storytelling to life. In Lightroom, warm up whites by +15 to +20. Boost greens and blues, but keep contrast low. For autumn scenes, increase yellow and orange saturation by 20-30 points.
Adding Hand-Drawn Animation Elements in Post-Processing
- Sketch outlines with Photoshop’s brush tool around main subjects
- Add semi-transparent watercolor textures from TextureKing
- Apply a 1-2 pixel black stroke on clouds or trees for a hand-inked look
Creating the Dreamy Ghibli Atmosphere with Selective Focus
Narrow apertures (f/2.8-f/4) blur backgrounds, making scenes feel miniature. In editing, use Photoshop’s Lens Blur to enhance depth of field. Focus sharply on central figures, blurring the rest.
Advanced Effects to Elevate Your Photos to Authentic Anime Style
To get the feel of studio ghibli style, you need to mix real and dreamy elements. Start by adding motion to still photos. Use motion blur on water or trees to make them look like they’re moving.
- Motion Effects: Add a bit of motion blur to clouds or water. This makes them look like they’re moving, just like in Studio Ghibli’s movies.
- Glow and Particles: Use soft light particles to create magical atmospheres. This is like what you see in animated films.
- Cel Texture Overlays: Place semi-transparent textures over your photos. These look like traditional animation cells and add to the studio ghibli style.
- Scene Compositing: Mix different photos to create detailed scenes. Make sure the lighting and perspective match up well.
Try using layer masks to blend elements smoothly. When adding glow, start with a low opacity to avoid too much. Look at scenes from My Neighbor Totoro or Spirited Away for ideas.
Work on fixing common problems. Uneven textures can be fixed by changing layer blending modes. If motion blur looks unnatural, mask it to just the moving parts. These steps turn regular photos into stories that feel like they’re from animated films.
Table of Contents
Conclusion: Bringing the Magic of Studio Ghibli to Life in Your Photography
Turning your photos into Ghibli style is more than just tricks. It’s about capturing the essence of Japanese animation. Use soft, dreamy lighting and vibrant colors that feel natural. Balance realism with fantasy to create a world that feels real yet magical.
Look at films like My Neighbor Totoro or Spirited Away to learn from Miyazaki’s team. They master shadows, textures, and perspective. Online, Flickr and Instagram are full of Ghibli style photos. Check out hashtags like #GhibliInspired to see others’ work.
Try adding hand-drawn touches in your editing, like the watercolor skies in Ponyo. Focus on telling a story rather than making it perfect. Take photos of parks or city scenes and then soften them with pastel colors.
Join forums like r/Photography or Studio Ghibli fan groups on Discord. Sharing your photos gets you feedback and ideas. Whether it’s editing a sunset or framing a forest, each project helps you understand Ghibli better.
The heart of Ghibli style is being true to yourself. Let your unique touch show in your work. Your camera and editing tools are your canvas. Start by tweaking a photo’s contrast or adding a brushstroke effect. Frame your subject as if it’s from a Studio Ghibli film.
Read post on AI from here


naturally like your web site however you need to take a look at the spelling on several of your posts. A number of them are rife with spelling problems and I find it very bothersome to tell the truth on the other hand I will surely come again again.
I like the efforts you have put in this, regards for all the great content.
I truly appreciate your technique of writing a blog. I added it to my bookmark site list and will
This is really interesting, You’re a very skilled blogger. I’ve joined your feed and look forward to seeking more of your magnificent post. Also, I’ve shared your site in my social networks!
naturally like your web site however you need to take a look at the spelling on several of your posts. A number of them are rife with spelling problems and I find it very bothersome to tell the truth on the other hand I will surely come again again.
This helped me a lot, thank you.
Really well-researched and written.
I don’t think the title of your article matches the content lol. Just kidding, mainly because I had some doubts after reading the article. https://accounts.binance.com/lv/register?ref=SMUBFN5I